Reference Images:
In this module, you are asked to create a prototype of a mobile, portable or integrated device. You will explore and understand the design process from creating an initial concept idea through to designing a visual prototype and setting it in context for the mobile device.
For this project we needed a concept that was a mobile, portable or integrated device and after brainstorming with
the team in the first few meetings, we decided to go for our most favoured concept between us all which is the
integrated water bottle, later be known as the ‘H2GO’. We believe that the water bottle, which is an extremely
common and cheap product, lacks any revolutionary twist on the design and technology. Our bottle concept would
include the following;
- LCD screen
- Batteries
- Water level sensor
- Bluetooth connectivity (allows our app concept to sync to the bottle)
- Built-in vitamin filter
This would allow users with busy lifestyles to keep hydrated with notifications via our app to drink some water
every hour (recommended guidance) and to diffuse vitamins into the water bottle through our filter. The LCD screen
would display information such as water level, time since last drink, progress on the recommended intake of 2
litres of water a day and more through regular developments and updates.
Once the research was completed, our design team went onto sketching different bottle designs and shapes. After
reviewing the sketches, as a team we all agreed on the bamboo outer shell with a stainless-steel inner wall to
keep the product ergonomic, environmentally friendly, reusable, extremely efficient, functional and aesthetic.
The bamboo shell was primarily based on our research showing its eco-friendly use but also adds style and colour
to the design as an added bonus. The lid was a very simple screw top lid, although, the simple design didn’t lack
in the functional sense. The screw lid allows us to easily design a compartment to house the batteries to power the
technology behind our water bottle.
With the design complete, our CAD team member used the design and planned measurements to draw the product in CAD
whilst the design team moved onto branding and marketing information and one team member from the design team
worked on the Arduino’s and software/sensors for the product to show how the product would function. As our CAD
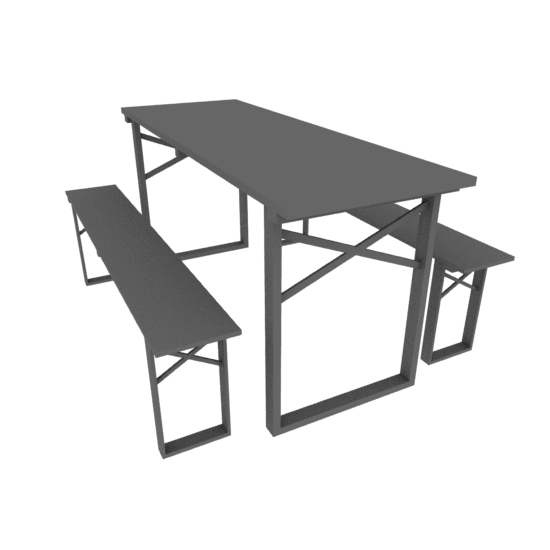
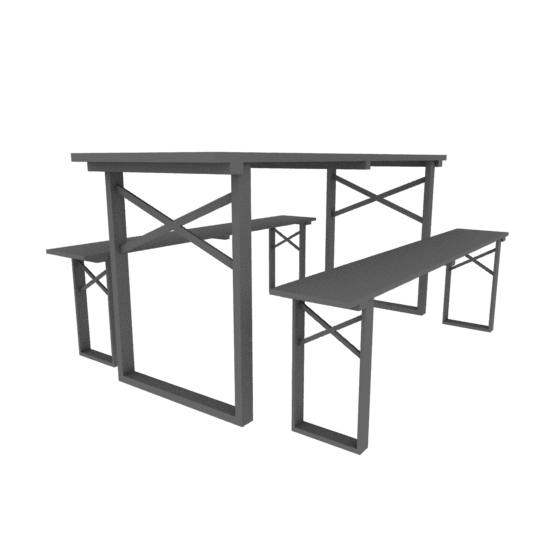
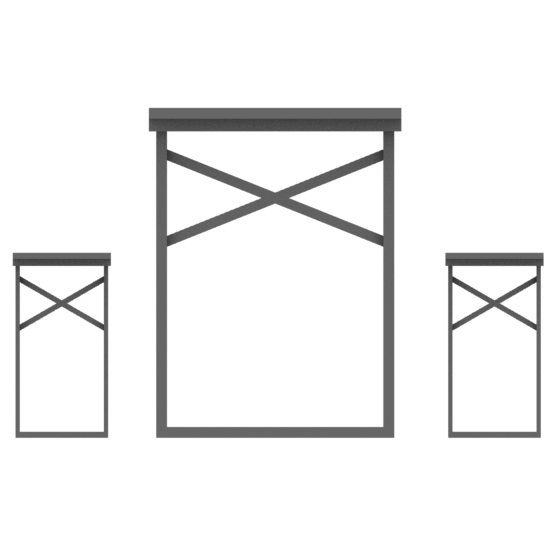
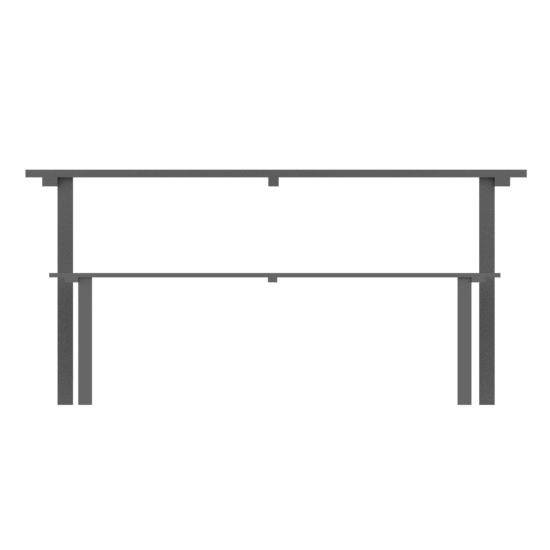
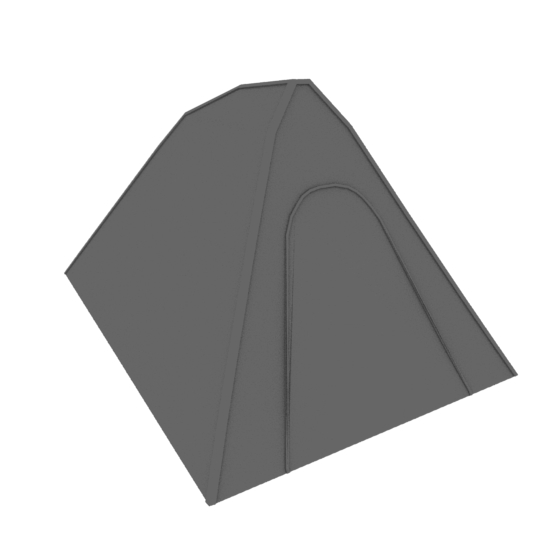
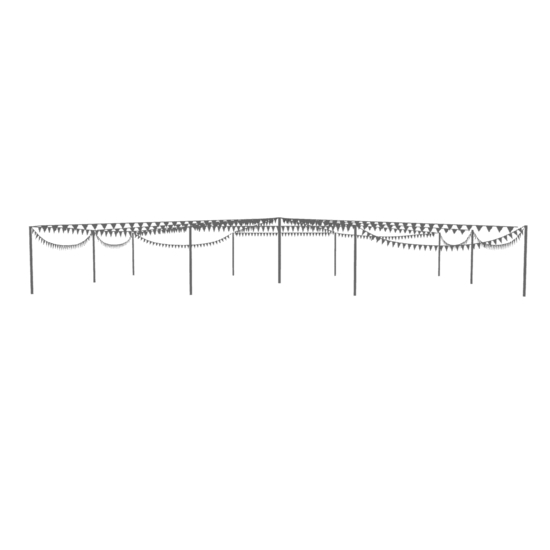
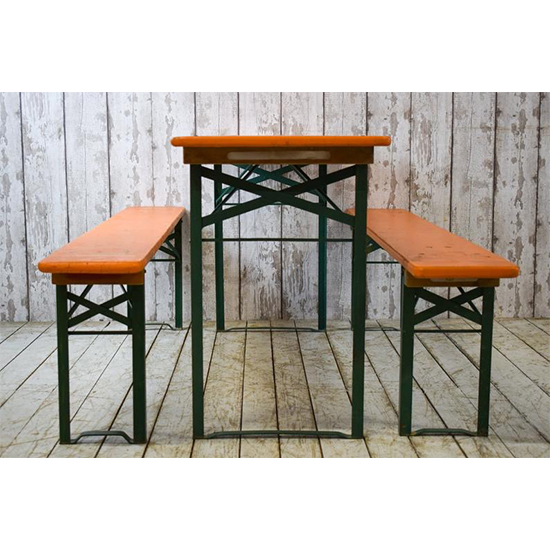
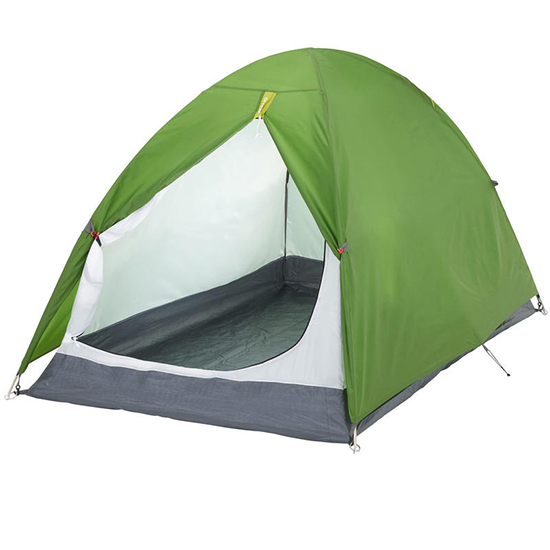
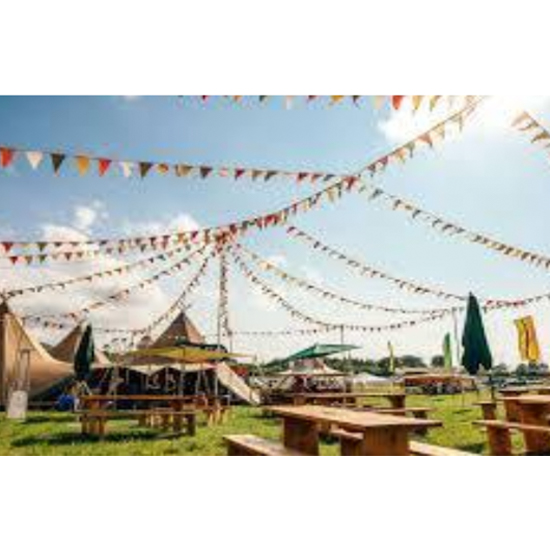
member was modelling the bottle, I moved onto modelling the assets for our proposed scene. I worked on modelling
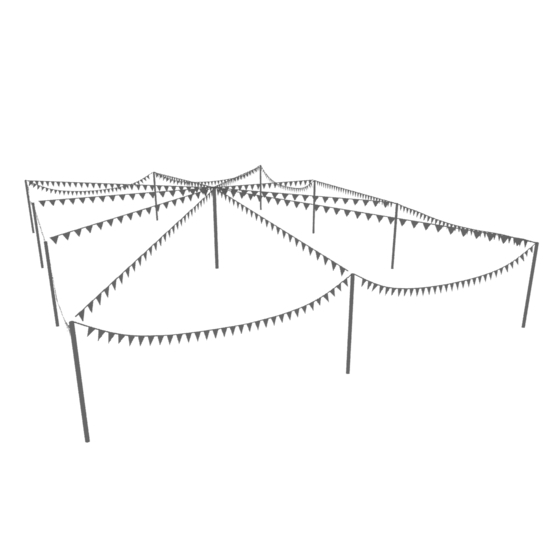
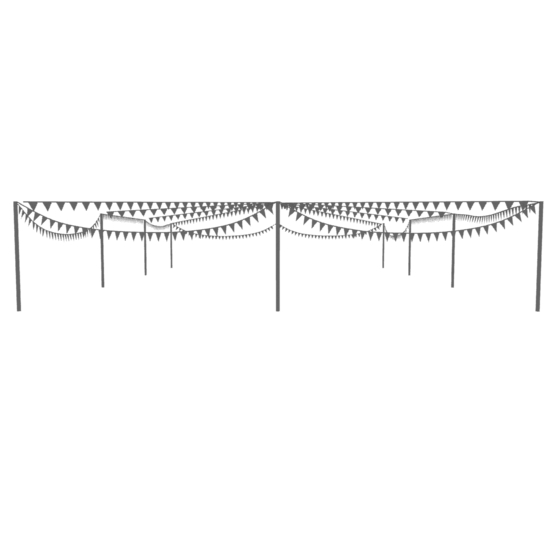
the tents, tables, benches and festival flag system whilst the other 3D member worked on the agricultural side of
the scene. Using references, I found online I was able to model the products relatively easily, however, I wanted
to add a dynamic function to these models to make the fabric look more realistic through reacting with gravity.
When the team all agreed the models look good, I moved onto adding the ‘ncloth’ dynamic (through the ‘FX’ tab in
Maya) to the tent and flag setup. Using the constraints function, I was able to select the points which will not
react with gravity, double checking to select all the points I needed. Next, the frame range from 1-200 which
wasn’t long enough form my computer to work out the computations so I changed the range from 1-2000 allowing
the ‘ncloth’ attribute to play to a point I was happy with the way the models reacted to gravity and stopped
the sequence at frame 900. I exported the models as .FBX to our other 3D member to add to the scene created in
Blender and added materials to the models since this could not be transferred through .FBX files.
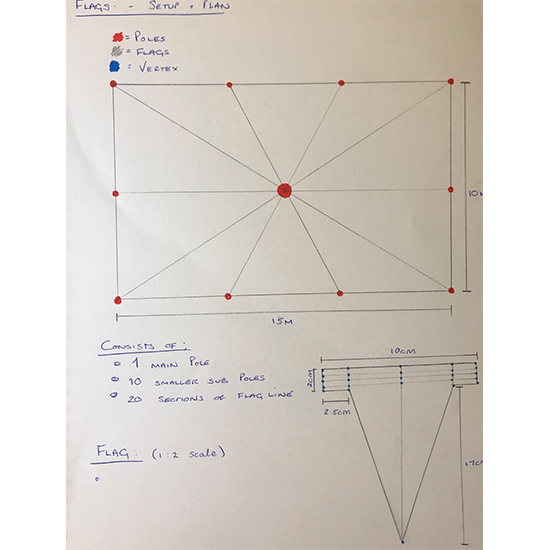
Since the flags reference wasn't positioned at the greatest angle for referencing, I decided to draw up a plan, including measurements as to how I was going to model this asset.