Weekly Task 1


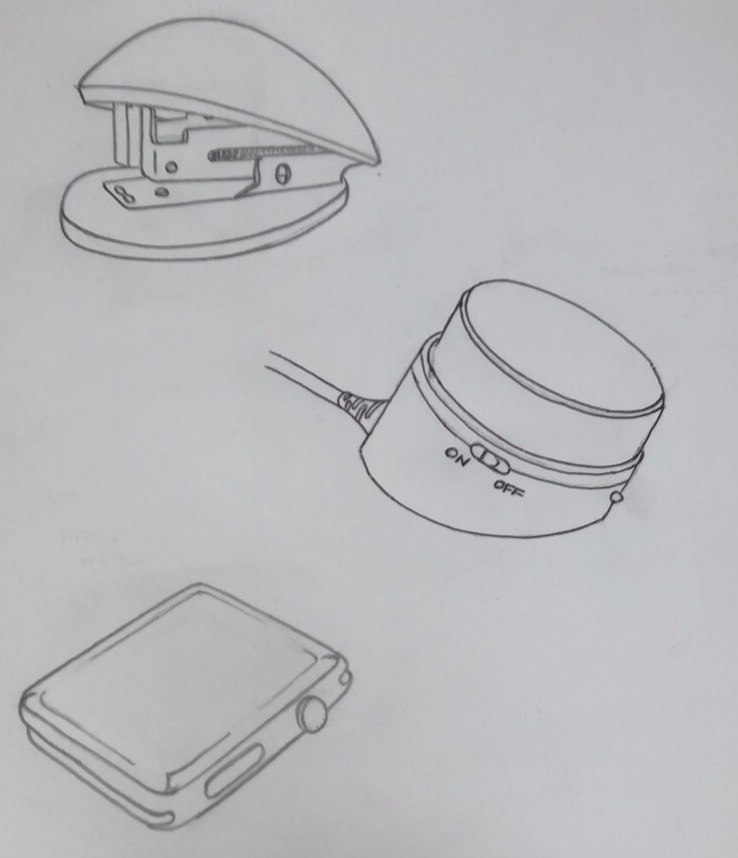
Sketch a few ideas of the 3D objects you would like to learn to model during the semester which you can include in your portfolio.

Our first task of the semester is to sketch a few items that we would be able to model at the end of the semester. The models I chose to sketch are as follows; small stapler, speaker volume control and an apple watch (excluding the strap). The reason I had chosen to sketch these items is that their form and shape offer a challenge to model to follow the curvature and chamfered edges of each item. I believe that at the end of the semester I will have acquired the skills in Maya to create and render the models.


Weekly Task 2


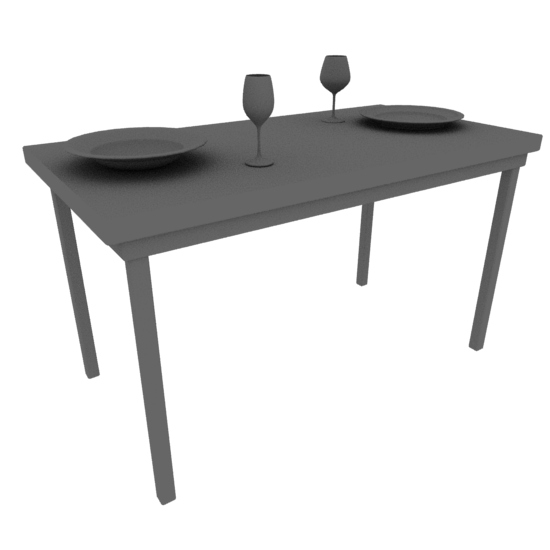
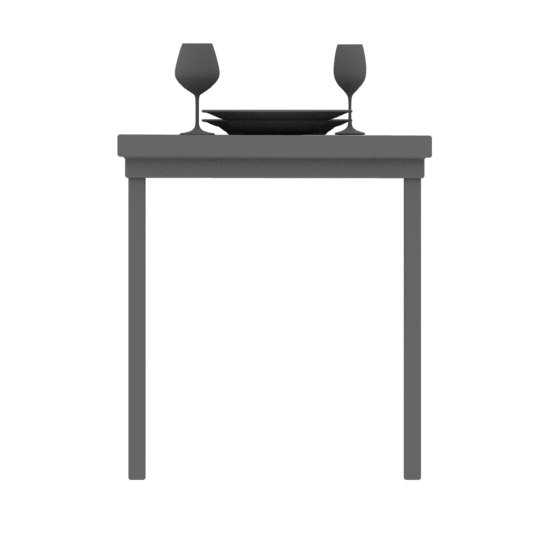
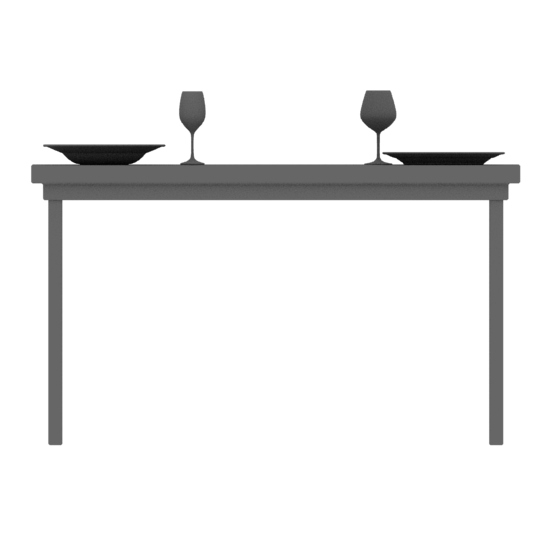
'Table With Wine Glasses': Model a basic table using primitives and then two different wine glasses and two different plates using the Spline and Lathe modelling tools.

This week I researched more into the spline and revolve tool in Maya to learn the skills needed to create a model of the brief stated above. After finding some images to reference, I inserted them onto the plane and then used the spline tool to trace over the outside of the plate and wine glass images. Once I had completed the spline tool, I modified the shape of each vertex to follow the curvature of the images better and then used the revolve tool on the lines to create a 3D model of the images. I then imported these models into another file where I had previously modelled a table using primitives and scaled the models down and moved them into position.


Weekly Task 3


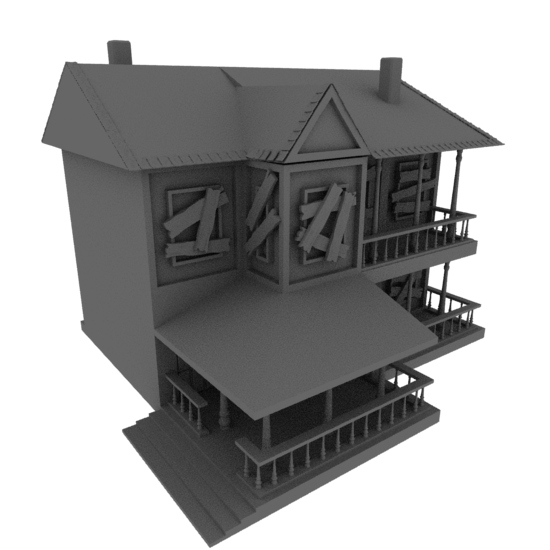
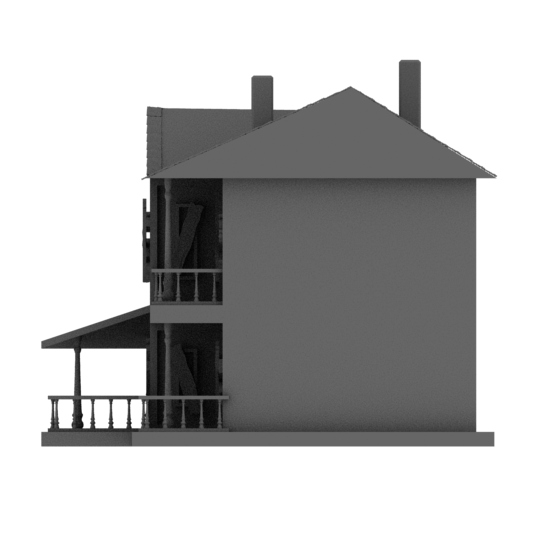
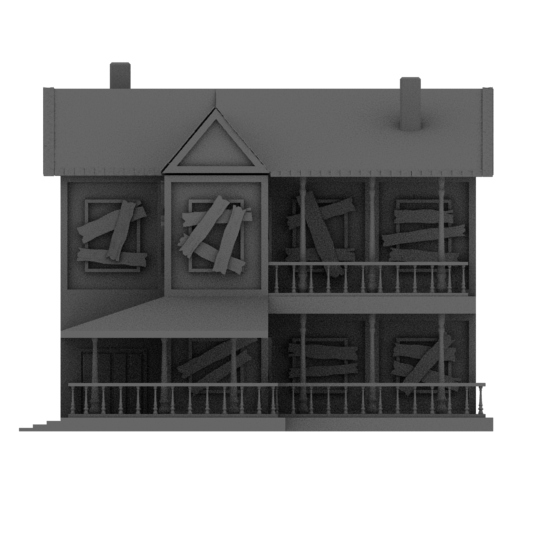
Following the steps provided by the tutorial PDF on the 3D Modelling Principles Canvas page, create a ‘haunted house’ from a cube.

This week was the biggest challenge yet, although using the PDF provided me with valuable skills and knowledge in Maya. However, the PDF provided was for users in Cinema4D which meant that some of the operations listed were different to Maya. To resolve this issue, I researched more into the Maya interface and tooling to understand more of the program and hopefully find the solution to the step I would be stuck on. The final outcome was very rewarding after spending several hours on this task to make sure that each step was done correctly; however, some of the time spent on this task was me going back several steps to make changes after developing more skills to make the previous stages better.


Weekly Task 4


Follow the PDF tutorial on the 3D Modelling Principles Canvas page to create a spinning world with text wrapped evenly around the sphere (world)

Similar to week 4, I followed a PDF provided by the lecturer to create a spinning world animation with text. This week allowed me to apply materials and play around with lighting and flare effects as well as key frame setting. In my opinion, I found this week to be very intensive since there was a lot to learn about the application of materials and lighting which I consider an endless learning curve since there's so many combinations of shading and materials that you can apply to the object. In my opinion, the most interesting element to this task was adding the flare effect and playing with the lighting. This proved challenging at first since I needed to play with the settings to get the right light intensity, specular highlight and spread of the light source. Also, the flare gave the final outcome some detail and edge on the video.

Applying the materials to wrap round the world was another difficult task to resolve since the size of the image slightly overlaps once the image is wrapped around the world. To try and resolve this issue I altered the settings for the image as well as increase the size of the sphere to increase the circumference in the hopes that this would fix this issue. Although this issue was improved there was still a very miniscule overlap but once the world was keyframed and animated, I noticed this issue was less visible since the movement as well as the light settings allowed this overlap to become more merged and seamless.


Weekly Task 5


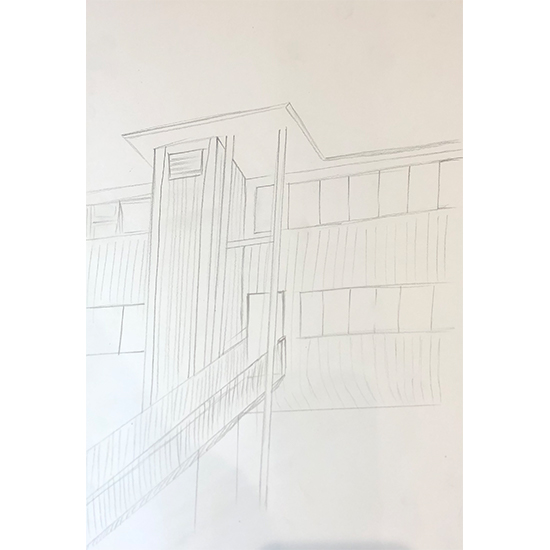
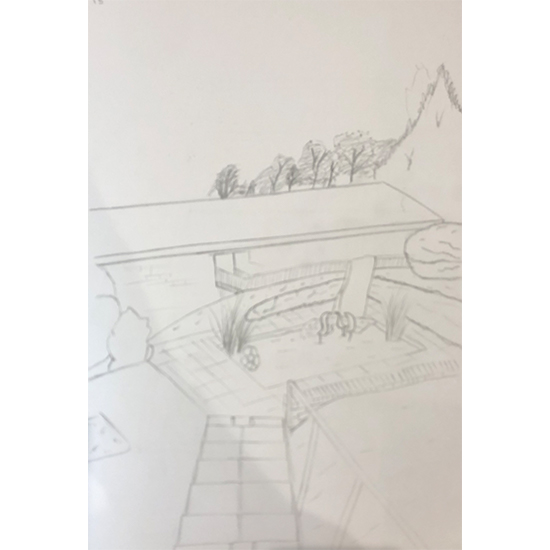
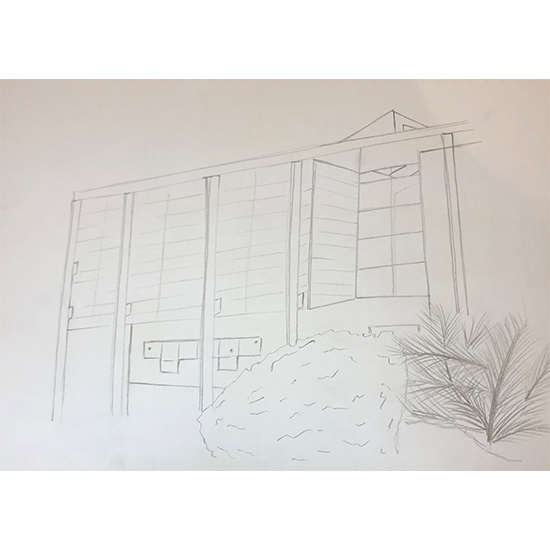
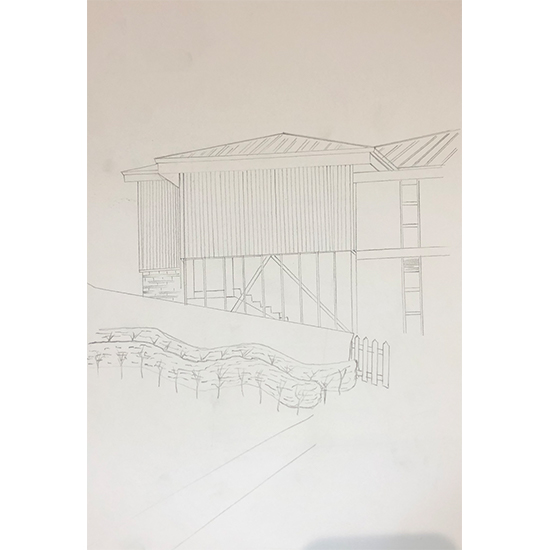
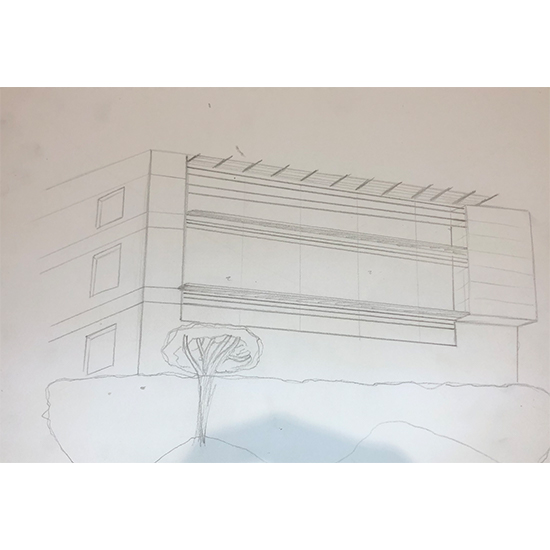
In this week’s self-study session, you will be expected to find area(s) on campus to observe and sketch using conventional sketchbooks or iPads, creating quick outlines within 15 minutes for each sketch.The sketching exercise will help you to discover how to sketch / scamp ideas for projects, an important ability when sitting with a client.

This week’s task was very intriguing to see how efficiently and neatly sketch areas of the campus in 15 minutes. I believe that scamps are an essential part to design since it starts the whole design process, brainstorming and visualisations which you can later refine to show to the clients. Without scamps or quick sketches there would be limited iterations and developments, less improvements both functionally and aesthetically. To test my drawing skills, I timed 15 minutes and tried to refrain from going over this limit; however, on a couple of drawings I went slightly over perhaps due to the use of the ruler for the library drawing and attempting to get the proportions and viewing angle correct on the pond view drawing. I did find that allowing an extra few minutes gave me some space to correct my lines so that they’re perfectly parallel which greater shows the shape and direction of a surface, but this extra time also improved my drawing perspective. I will continue to develop me skills in scamps and challenge myself to draw a building in 30 minutes and improve my skills overtime to attempt the same building drawing again in 15 minutes to see the developments and comparisons against these scamps and the more detailed drawing.


Weekly Task 6


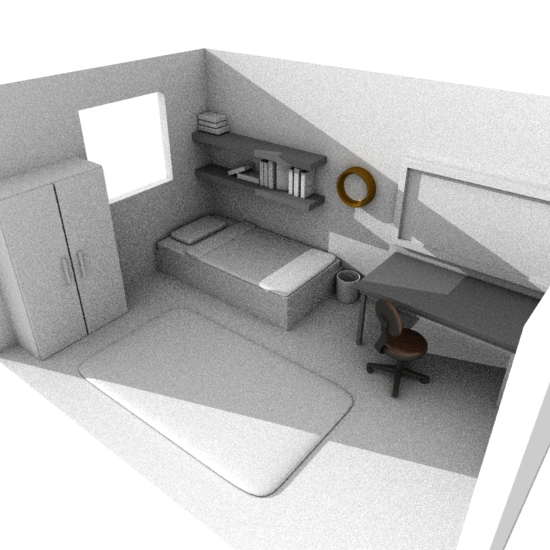
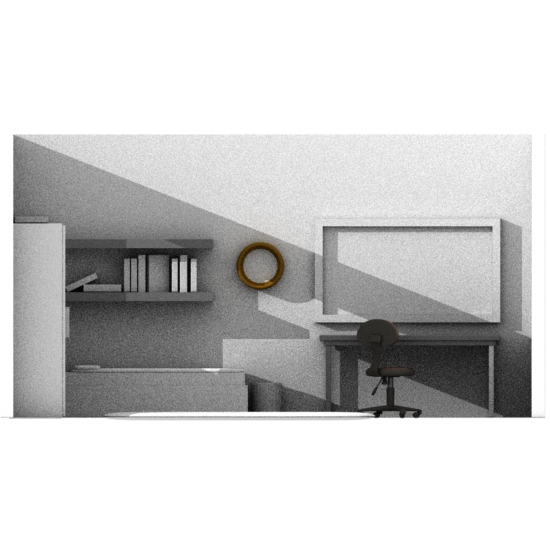
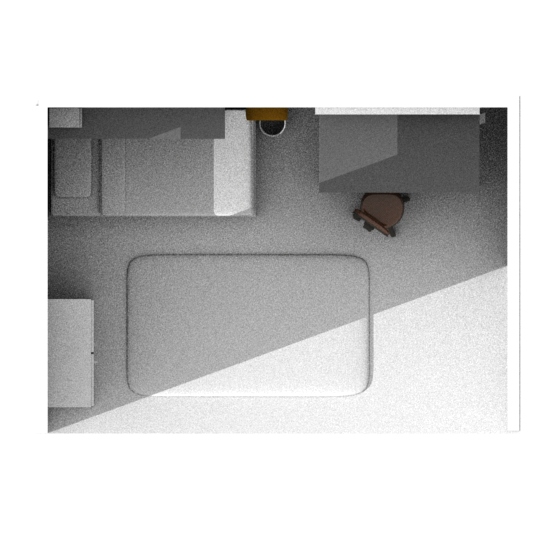
Using either your haunted house model, or building a singular room/enclosed space, create an interior with objects/furniture using a combination of your own models and free 3D models

The task for this week is to design a room interior using our own models and any suitable free 3D models from open source places online. I primarily used my own models for this task to try and develop my modelling ability. I started with the floors and walls of the room and then used the loop cut tool on the left wall to create a window and filled in the gaps between the exterior and interior surface to form the window. Next, I moved straight into the modelling, experimenting with different modelling techniques and primitives to find a shape that would fit the criteria of the model. I then altered the vertices of some models to represent curvature such as the bedding and pillow. To conclude this task, I imported the clock and swivel chair from an online source and placed these items into position ready for next week’s task of planning an animation for the room.


Weekly Task 7


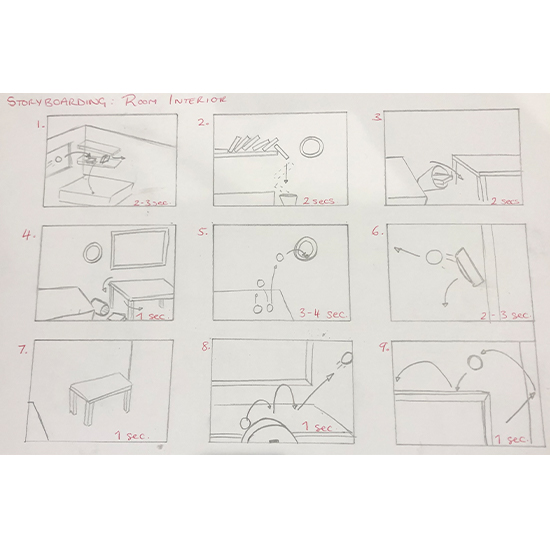
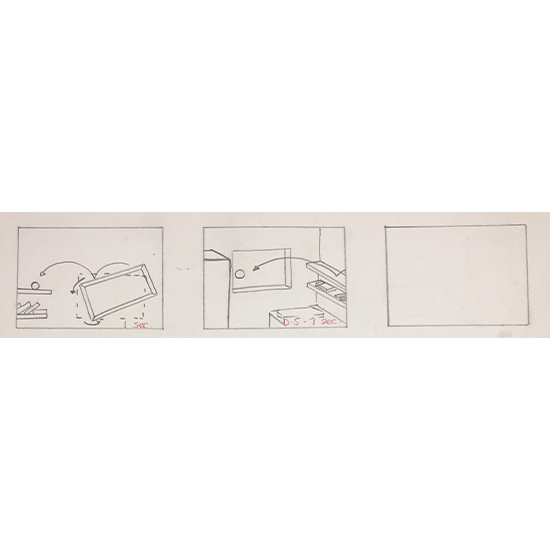
Design a short animation using your scene / models telling a short story, and using your chosen lighting set up from the workshop and draw it up as a storyboard, making sure you have timed each scene. The sequence should not be more than 30 seconds

For this week, I needed to storyboard a short animation using this room we previously modelled. The scene was required to be no longer than 30 seconds. After brainstorming a few ideas of what I could perhaps animate using my knowledge of keyframing from week 4, I proceeded with the idea of animating a ball bouncing around the room as if it has a mind of its own, This ball would cause havoc in the room and cause models to topple over and drop onto other models essentially like a chain reaction. I planned the animation to last 16-19 seconds since some of the movement I had planned would be extremely tedious to animate which may cause the final video to look inadequate if not done correctly. Also, since I was new to animation and keyframing, I allowed myself the extra time to ensure that I’ve done the best I could for the first 16-19 seconds rather than potentially rushing a 30 second video.


Weekly Task 8


Animate the objects according to your storyboard scenes.Decide on how you might animate – using the walk through camera method, using camera paths, animating objects and/or using deformations

This task was extremely tricky and tedious in ways since each object needed to be keyframed to rotate or move which has several effects on other nearby objects which also needed to be transformed due to the new input. I did thoroughly enjoy this task and allowed me to explore quicker ways to keyframe as well as think about the movement and position in an animation.

To complete this task, I followed my plan from the week prior and animated accordingly to this plan. Some aspect of the animation was harder than others, for example, animating the books to fall in a particular way or rotate was incredibly time consuming considering it covers only a few seconds of the animation but also very rewarding when the final outcome looked as realistic as I could get it.

The lighting and camera work are another element that I’m new too. Using an area light, I was able to illuminate the whole scene from the front and top of the scene. Next, I moved onto camera placement and keyframing to capture the sequence at different angles. For this I experimented using slow pan movements and fast zoom in areas to give the final video more depth of field and intrigue the audience more with a mixture of slow and fast movements which help to tell the storyline/animation. Once everything was complete, I moved onto rendering from the camera perspective and exported as a .MOV file to showcase online as a final rendered video.


Weekly Task 9


create a 3D logo for a title sequence or channel ident.

The final week was to design a 3D logo or channel ident. Since I was studying 3D design and branded my website as ‘LA Designs” I decided to combine the two aspects to create a 3D pop up logo animation. For this task I used Maya too model and keyframe the animation which based on the previous weeks experience, I was able to complete this task quicker than planned without compromising aesthetics or quality of production. The reason these colours were chosen for the animation is that after researching colour combinations online, I found that a strong bold background alongside a grayscale typography works extremely well and looks coordinated. The bold, green background helps to highlight the edges of the modelled text and contrast well all together. As for the keyframing, I kept the animation simple but could perhaps begin to learn Adobe After Effects to give this animation more boldness and detail but overall, I’m very pleased with the final outcome and nicely concludes the skills I’ve learnt over this semester in terms of animation, materials, lighting, modelling and rendering.